Sleazy's Garage


This was inside the car driving a bit to test the speedometer. Got up to about 15mph I think. This car is turning into a really well-mannered vehicle tbh. It's been over 25 years since this speedometer measured speed. Doors are coming soon! 😅
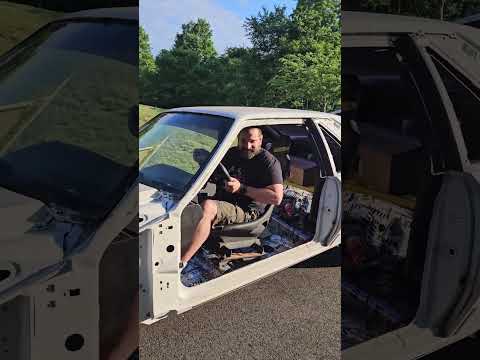
A little cold start of the coyote swap and driving off to test the speedometer hookup and freshly bled brakes. There's a couple spoilers of upcoming videos in this reel.

Finally re-installing the dashboard that I restored/dyed back in 2021. Mrs. Sleazy was a huge help in getting this thing installed. Heads up there's a lot of cursing and spicy humor and things go semi-awry. But the end result? We finally have a dashboard in the project car and Mrs. Sleazy and I had a blast doing it!

More small tweaks here. I want to get it to where I can close the hatch all the time, which means the battery cutoff switch needs to be completed and the charging wiring is brought out to the outside of the car. So lets handle the former in this video, and prepare for getting the rear bumper and side skirts installed. Don't worry I'm not going to be leaving the cutoff switch installed while I'm driving around town, it'll just be for the track.

Recently diagnosed a potentially bad anti-slosh module. Will the new one keep me from getting sloshed? (hyuck)

So many little things to do. I'm targeting the interior and the exterior body panels next. I'm having trouble staying focused.
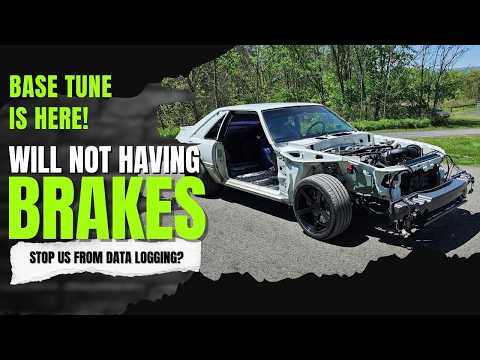
My Palm Beach Dyno base tune is here, so lets flash it in and take the car for its first drive up the road! Will the absolute lack of any semblance of braking power or zero power steering deter us? Come on, you know me better than that!
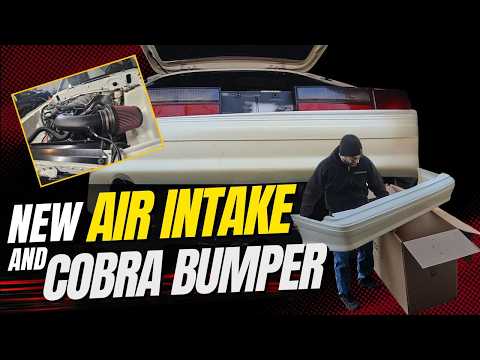
In this video I show the cobra bumper I got from Cervini's and clean up the rust stains on the rocker panels from the brackets that hold the ground effects on. I'm also installing a JLT cold air intake in preparation for the base tune I'm getting from Palm Beach Dyno.

I've been cleaning my basement and I found a really old Ford car air freshener. It's _at least_ 12 years old but I think it's from 2006. Lets crack it open and give it an unrecommended sniff. I'm a big fan of Ford cars, but this isn't it.
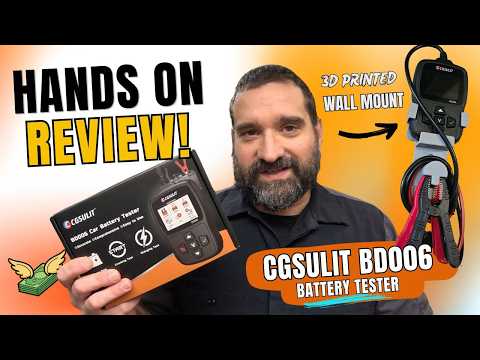
CGSULIT sent us a BD006 Battery Tester to try out! In this video we'll test it out on some of my cars and get an idea of what it's like to use and I'll give you my impressions. There were definitely some surprises! Lets figure out if you need this tool in your toolbox.